
Table of Contents
Available Tools
When in a live scene (class or community), you’re able to access a variety of tools to aid in your comprehension of the material and navigate the immersive learning environment to support your learning. Be sure to test them out in the Tutorials or Community Scenes before jumping into a Live Class.
Accessing the Tools
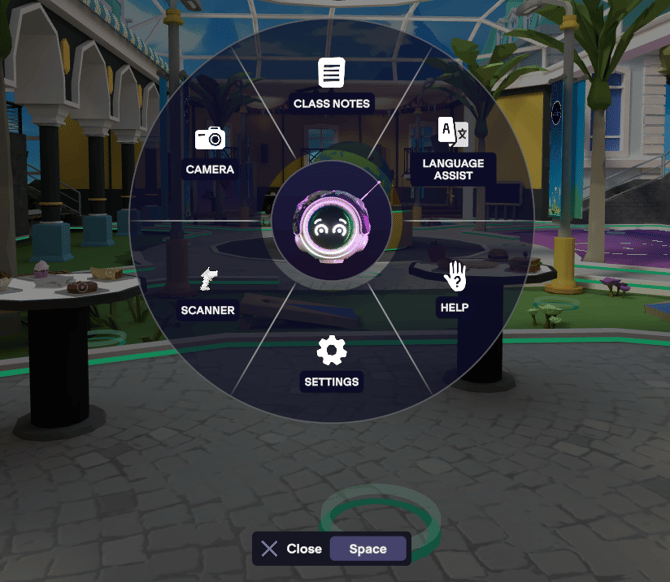
Your tools are accessible via your central pop up menu.
On Computer
- Press SPACE on keyboard or click Tool Box icon on screen
- Click on the tool you want to use
VR
- Press A on right controller to open Geo menu
- Click the tool you want to use
- Use trigger on controller handle to grab the floating tool
.gif?width=670&height=377&name=CopyofLikesDislikesClassroomVRDesktopTesting-ezgif.com-video-to-gif-converter%20(2).gif)
Available Tools
Vocab Scanner
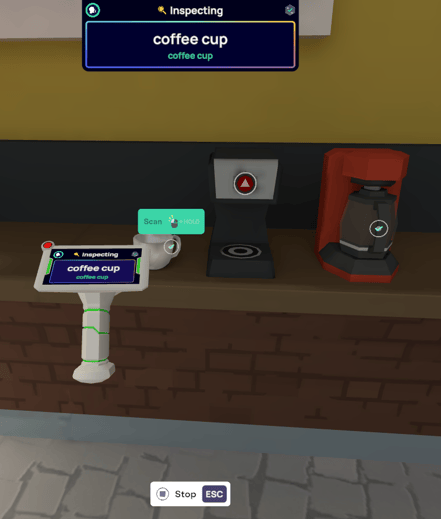
The object identifier can be used to learn more about objects you don’t know and can help build vocabulary! Once in your hand, you’ll notice that different objects around the room suddenly have question marks near them for you to scan.
How to Use
Computer:
- Press the SPACEBAR on your keyboard or select the Tool Box icon on your screen.
- Click on the scanner.
- Point to the desired object and click the left mouse/trackpad button.
- To hear the pronunciation, point, click, and hold.
VR:
- Press A on your right controller to open the Geo Menu
- Click the scanner icon
- Grab the scanner from it’s floating orb by pressing the trigger button on the controller handle.
- Point the scanner at objects marked with a white circle and yellow question mark.
- Once locked on, push the front trigger to reveal the object's name.
- To hear the pronunciation, push and hold the front trigger.
⚙️ Why isn't everything scannable?
To prevent server overload and lag we have chosen specific elements in each scene that are frequently used in class and event scenarios to be grabbable and/or scannable.
Camera
During class you may be asked to capture images of different things within the scene in order to complete activities. In Community scenes you can take pictures with friends, or play games using the photos.
🚨 Photos cannot be saved on browser or in VR at this time. The Save Photo button is for Guides and Partners with access to our internal desktop application, wherein the photo saves to their computer. Learners should screenshot images they wish to save directly.
.jpg?width=670&height=269&name=Gemini_Generated_Image_vtqc8hvtqc8hvtqc%20(1).jpg)
How to Use
Computer:
- Press the SPACEBAR or click the Open Tools button.
- Click on the camera.
- Use the control buttons (or hotkeys) at the right side of the screen to:
- Take a picture.
- Toggle selfie mode.
- Expand a photo once captured.
- Place the photo within the scene
Note: Photos captured when zoomed out into 3rd person POV (where you can see your own avatar), will still only capture a 1st person POV - your avatar will not be in the photo.
VR:
- Press A on right controller to open your Geo menu
- Click the Camera icon using your front trigger (pointer finger)
- Use the controller handle (middle) trigger to grab the camera
- Line up your shot in the camera lens
- Or push forward on the joystick to extend and flip the camera to take a selfie
- Press the front trigger to take photo
- Use the controller handle (middle) trigger to grab the photo
- Press the front trigger button to enlarge the photo
Laser Pointer
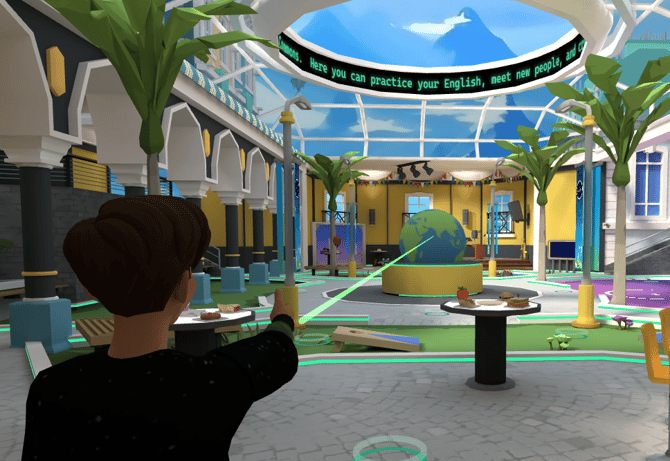
This tool allows you to direct attention to specific elements within a scene during discussions.
How to Use
⚠️ Note: The laser pointer is not located in the Radial Computer Menu or in Geo’s VR Menu. To activate the laser pointer, ensure your avatar's hands are empty.
Computer:
- Press and hold SHIFT + CLICK the primary button on your mouse.
- Move your mouse to point.
VR:
- Press and hold the B button on your right controller.
- Move your hand to point.
Other Learning Aids
Class Notes
Class Notes are provided to support you during live classes. You can save these notes or add your own to a personal list of words and phrases for use in community scenes or other classes.
The Language Assist Feature
Our interactive features offer comprehensive language support. Click any word in your Class Notes for instant translation, accurate pronunciation guides, and contextual usage tips, enhancing understanding. You can also ask direct questions for a personalized learning experience.
Supports Used by Guides
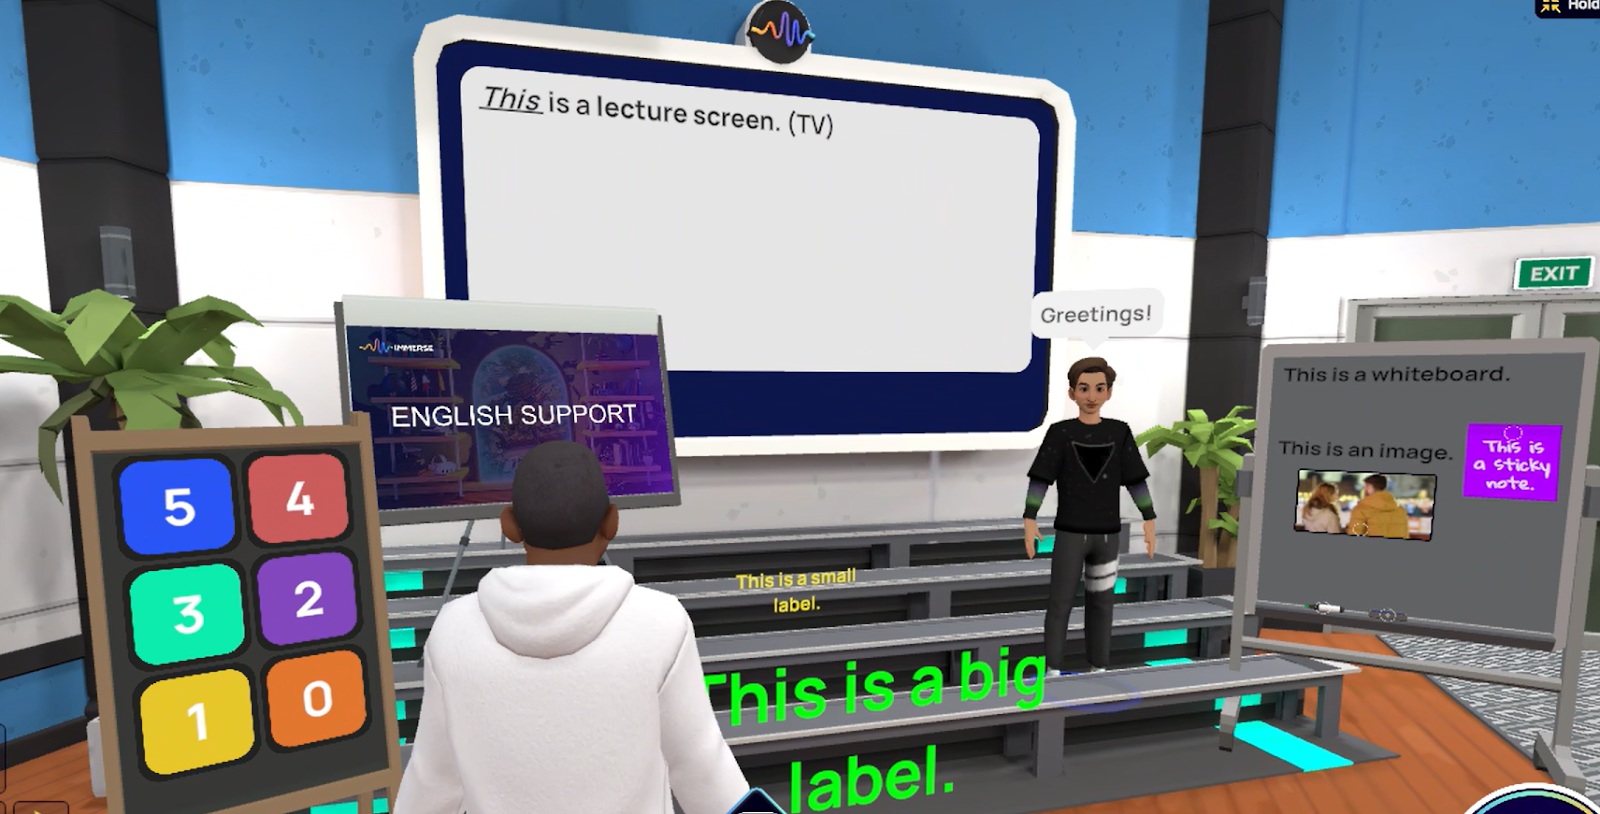
In addition to all of the same tools learners have, our instructors have the following to help facilitate an effective learning experience.
|
Category |
Tool(s) |
|
Visual Aids |
Lecture Screens: TVs used for displaying information.
Spawnable Slide Decks: PowerPoint presentations for conveying information.
Images: Provide visual context for vocabulary words, scenarios, or activities. |
|
Interactive and Collaborative Tools |
Whiteboards: Surfaces for typing or writing, with a sticky feature for attaching objects.
Sticky Notes: Small text notes that can be placed on objects or surfaces and are grabbable by learners. |
|
Communication and Identification Tools |
Quick Text: Allows Guides to send brief messages or instructions, appearing above their head.
Labels: Customizable labels (font color and size) placed on objects or surfaces for identification, labeling process steps, or designating areas. |
|
Time Management Tool |
Timer: A countdown tool for timed activities. It appears on students' left wrists in VR or at the top center of their screen on desktop. All participants hear a sound when the timer starts and ends. |
🎨🖌️ Markers & Paint
Markers and erasers are available on either side of the Graphic Organizer and on spawned whiteboards, though not in your primary toolkit. To change marker color, pull back on the joystick in VR or click the color button on your computer screen. This method also applies to spray paint cans and paint brushes in scenes.
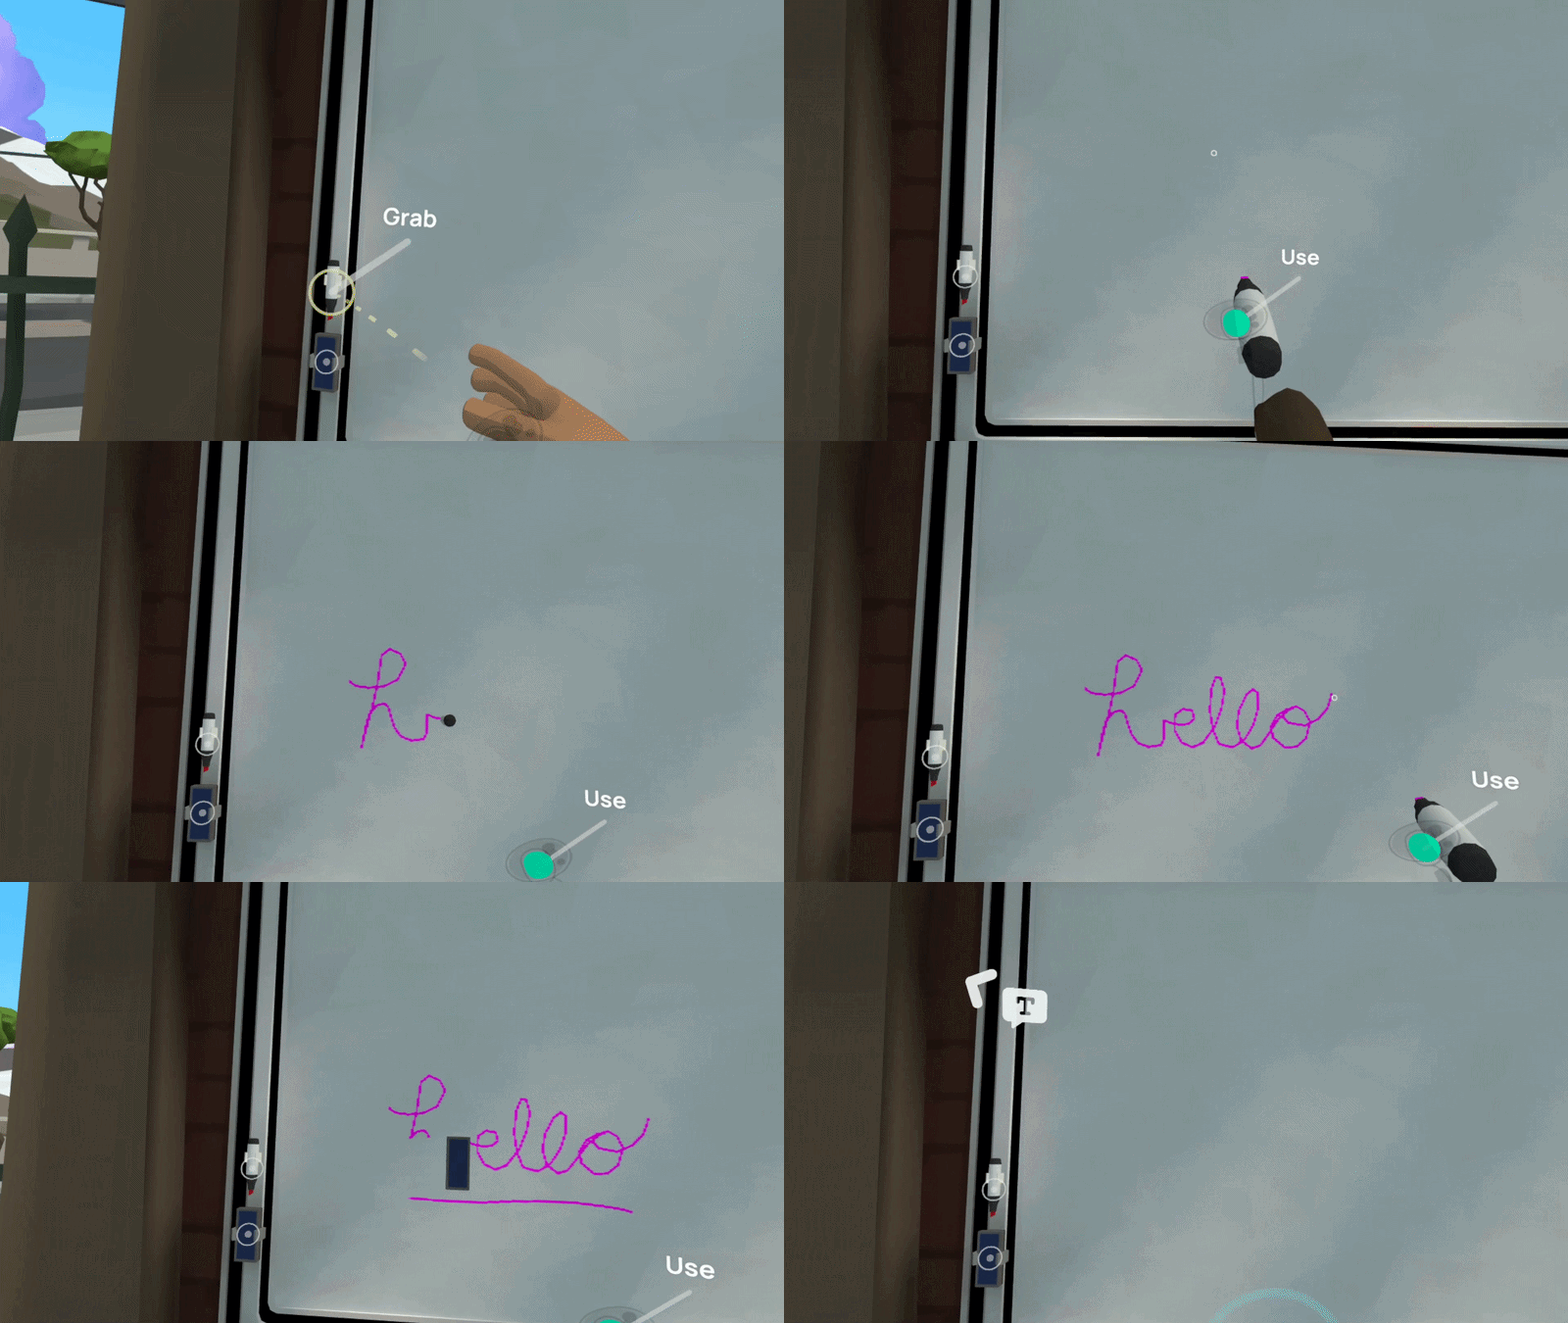 Detailed Instructions
VR:
-
Grab your preferred tool: marker, paintbrush, or spray paint using the handle (middle) trigger of the controller.
-
To reveal the color wheel, pull back the joystick on the hand holding the tool.
-
Once the color wheel appears, move the same joystick left or right to select your desired color.
-
Release the joystick; the tip of your marker/paintbrush will now reflect the chosen color.
-
Press the front trigger while pointing to begin drawing or painting.
Computer:
-
Pick up marker, paintbrush, or spray paint
-
Press color button on bottom of screen to switch colors
ℹ️ Looking for Accessibility Features instead? 👉🏼 Learn More Here 👈🏼
⚙️ Want less distractions in your learning environment? Check out these options!
❓Have a question about learning tools at your disposal or experiencing a problem? Don’t hesitate to reach out to our Support Team at support@immerse.com